Using Ardupilot HC06 Bluetooth Module
- Furkan IŞIKAY

- Aug 4, 2023
- 2 min read
Hello dear drone lovers, in this article, I will tell you how you can use Ardupilot and HC06 bluetooth module as wireless telemetry.
Preliminary Preparation
My flight control board is APM v2.6. (You can use Pixhawk instead.)
My operating system is Windows 11. (Almost the same in Windows 10.)
FTDI Cable or USB-TTL converter may be required for Bluetooth module setup.
We will make the necessary adjustments through the Mission Planner Software.
1. Setting the bandwidth of the module
Before using the module, we connect it to the computer with an FTDI cable.
Open the Arduino IDE program and click the following respectively and select the com port of the FTDI cable.

Picture 1.1. Arduino Port selection screen
Then we open the serial monitor in the upper right corner of the Arduino screen.

Picture 1.2. Serial Monitor Window
Change the newline value in the lower right corner of the screen to Both NL & CR.
Bandwidth can remain at 9600.
Type AT" in the text box to the left of the Send button and click Send.
If you got the answer OK on the screen below, your link is correct. If you did not receive any data, you may have selected the wrong com port or reversed the rx-tx pins when connecting the module to the ftdi cable. If the data you receive is “OK?” If there is not only "OK" but also garbled characters, such as "OK", the bandwidth may be in the wrong value. So try changing the bandwidth and sending the command "AT" until you get the "OK" response.
Send the command “AT+UART:57600,0,0” to set the bandwidth to 57600 instead of 9600. The module will return a OK response.
2. Connecting the module to the Flight Control board

Picture 2.1. Connection diagram
Meanings of the LED on the Bluetooth module:
· Red LED flashes at 1hz: device is working, not connected
· Red LED flashes at 0.5z: pairing
· Red LED steady: connected
3. Pairing the Module with the Computer

Picture 3.1. Mission Planner Settings Screen
Right click on the Bluetooth icon on our computer and click "Add New Device".

In the Settings window that opens, if the "Bluetooth Device Discovery" option is "Default", select "Advanced".

Then click "Add Device".

Click Bluetooth.

We choose “HC-06”.

It will ask for a password. (The default password is 1234 or 0000).
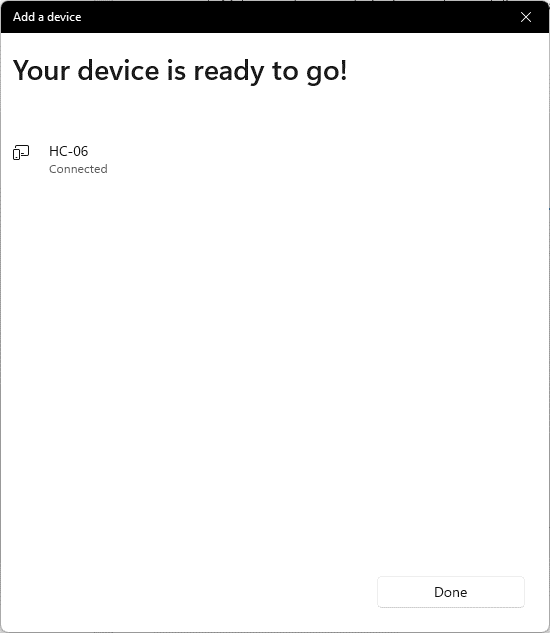
Type 1234 and click "Connect".

If you see the text Connected, you have successfully connected.
4. Connecting Mission Planner to Ardupilot via HC06 Bluetooth Module
Make sure the ukk and module are powered before connecting.
Open Mission Planner and select the com port Bluetooth one from the connection settings in the upper right corner.
We have set the bandwidth to 57600 in the module and the corresponding serial output of the flight control board, so we select 57600 and click Connect.

And we are connected to our Agent.
⚠️If you have trouble connecting. Check that the bandwidth value of the telem port you have connected on the flight control card is 57600. For this, you can connect the UKK to the computer via usb and type telem in the parameters section and see and change the baudrate value of that serial port.


Comments